Trusted connection on the Internet is the must-have security requirement for all websites. How to configure your website with a totally free SSL certificate?
1. Please verify that your hosting provider supports SSLforfree or Letsencrypt. As far as I know there’s some providers such as: namecheap hosting, hostgator business and professional package, godaddy…
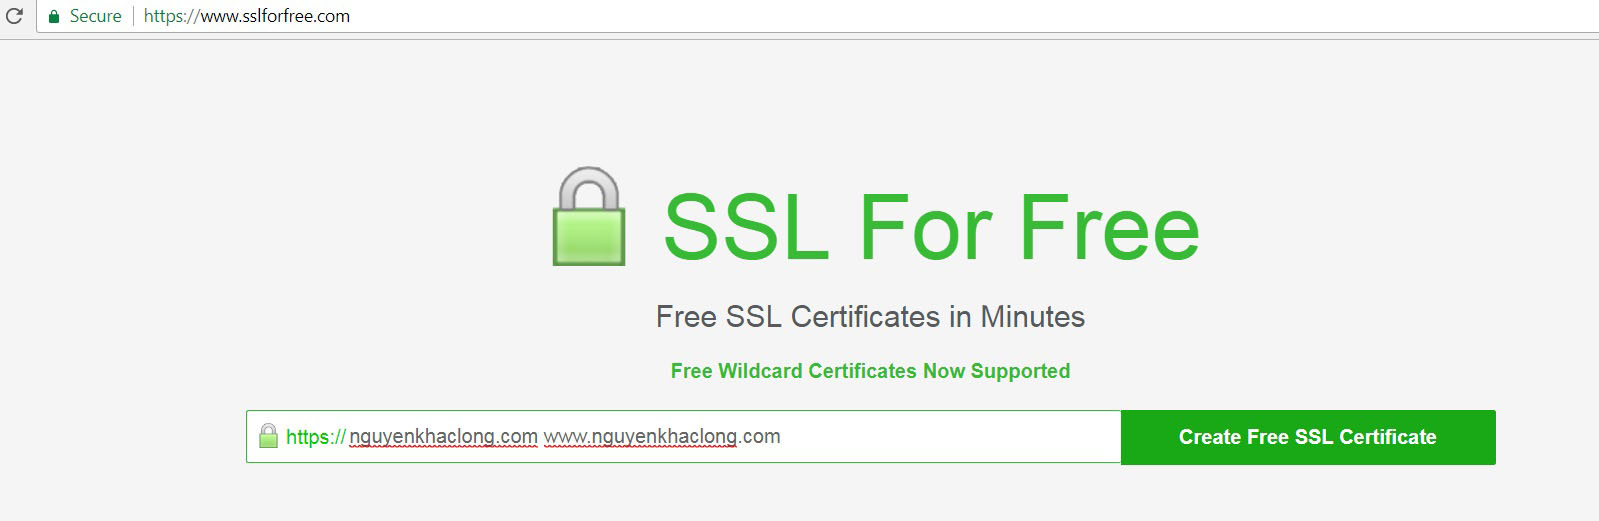
2. Submit your website domain name to SSLforfree.com
3. Now you need to verify your website owner.

There’s three options
(*) Automatic FTP Verification: You need create a FTP user for this option. Enter FTP information to automatically verify the domain
(**) Manual Verification: You upload the authentication files to website folders. Upload verification files manually to your domain to verify ownership.
(***) Manual Verification (DNS): Need create some DNS records of your domain name. Use this if you cannot verify through a web server or cannot use port 80. You will be adding a TXT record to your DNS server.

Let’s choose the option 2
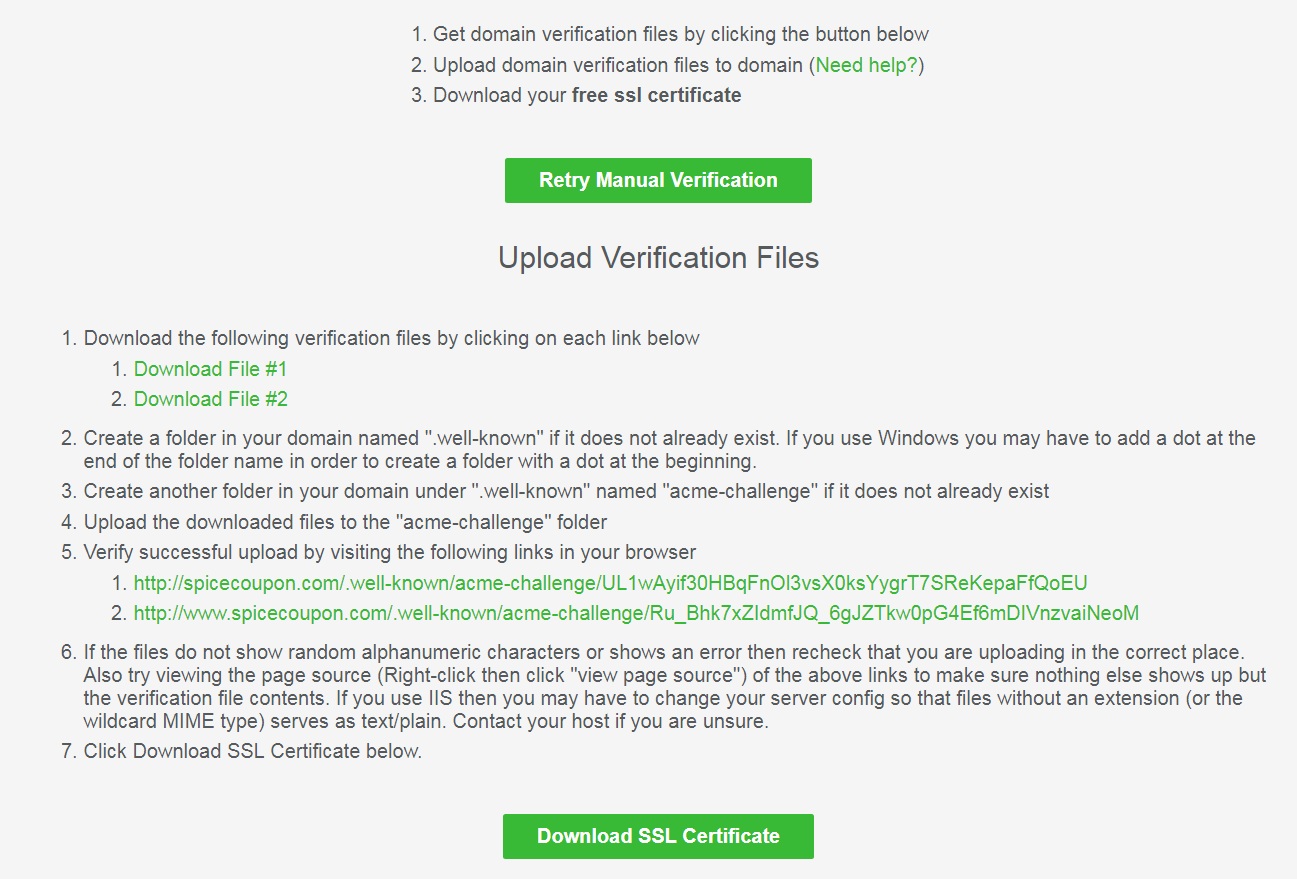
Upload Verification Files: download 2 files. Then upload to folders: .well-known/acme-challenge of the website.
Then click Download Free SSL Certificate.
+ Download Certificates files:
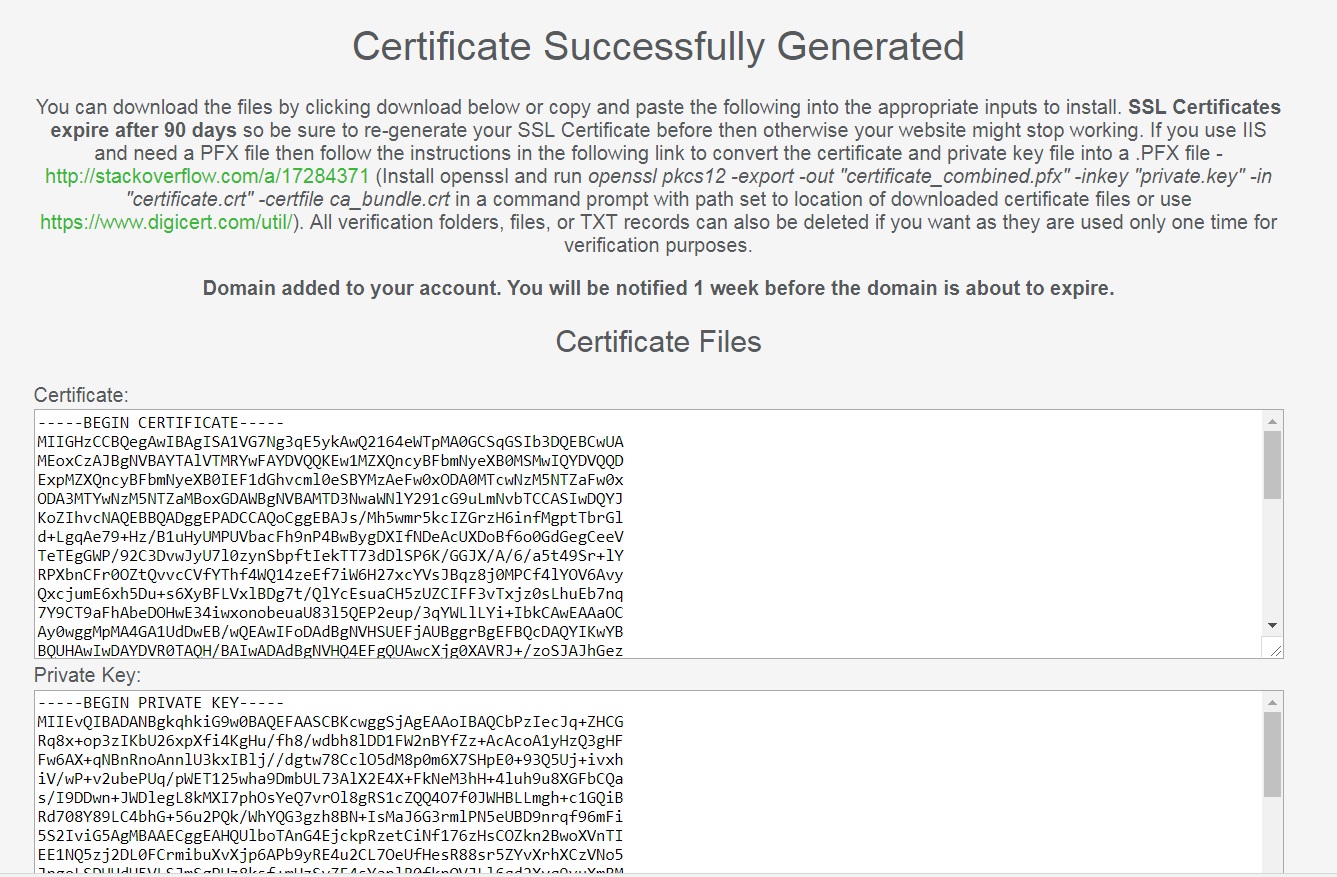
Note that: You need renew the SSL key after 90 days. See more at : https://www.sslforfree.com/certificates
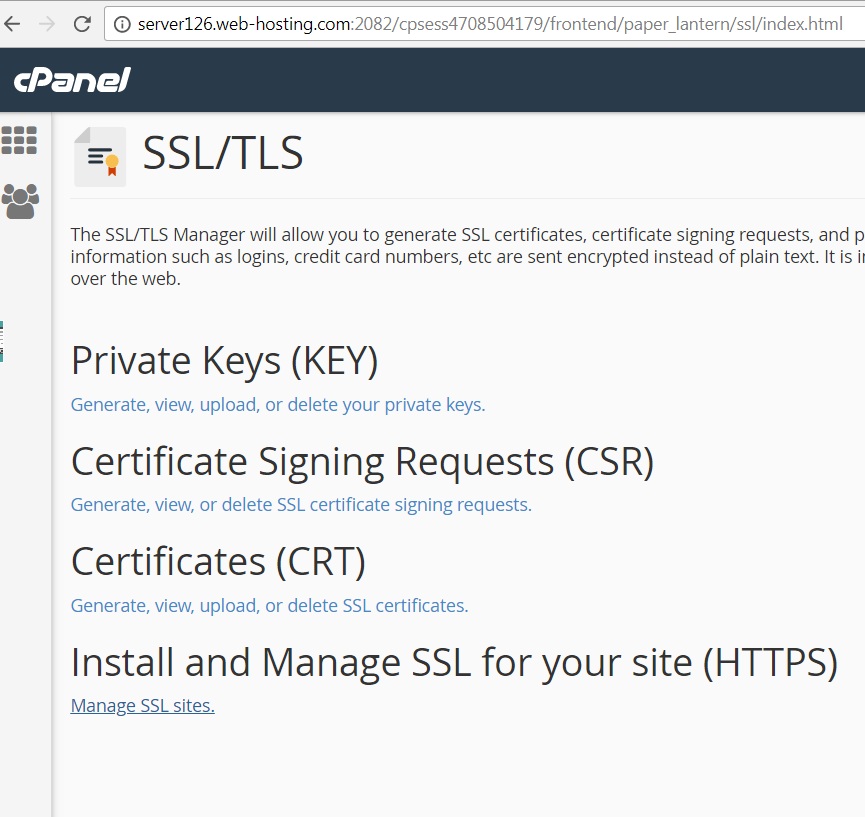
4. Configure SSL/TLS in cPanel
Select TLS/SSL in security zone

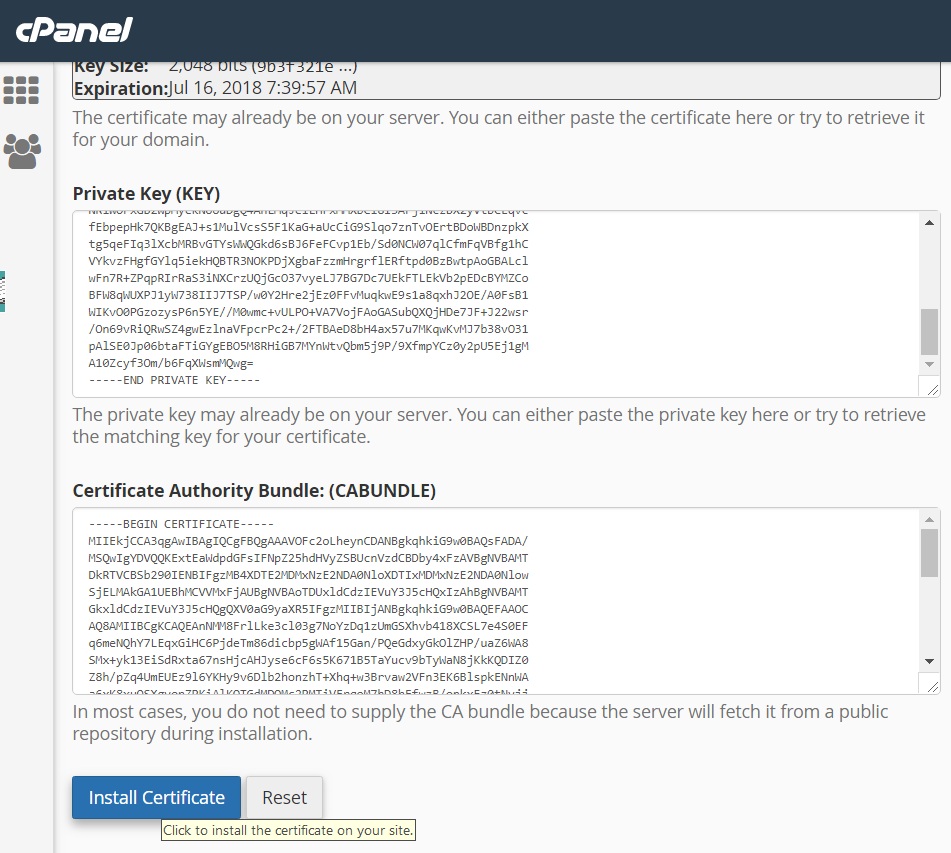
Then click manage SSL sites
Manual import ssl keys:
5. Compact https with your WordPress
Go Plugins — Install & Activate Really Simple SSL plugin.
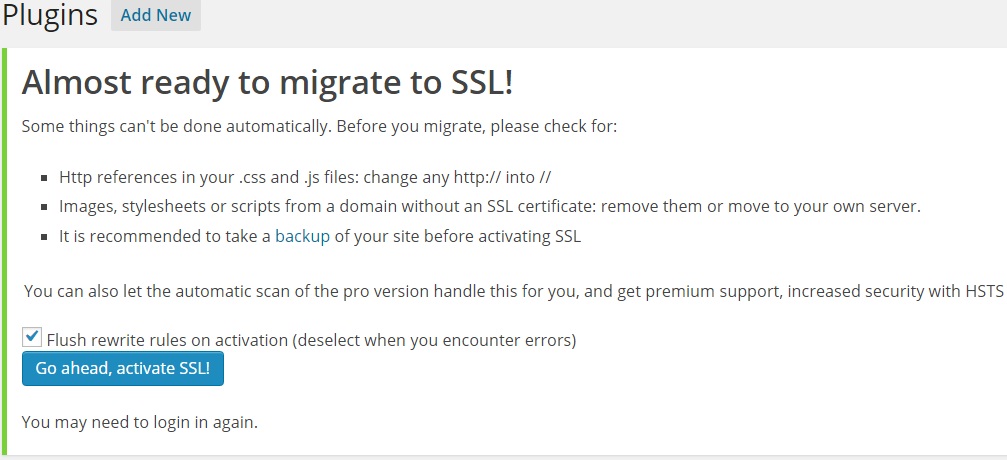

Final click to active a trusted connection